Introduction
If there’s one thing I can say about myself, it’s that I love challenges related to software programming. They don’t need to be meaningful or even useful, but I enjoy the challenge. That’s why when I saw this message on my LinkedIn, I had to take on the challenge!
If you’re unaware of what XKCD is, here’s what Wikipedia has to say about it:
xkcd, sometimes styled XKCD, is a webcomic created in 2005 by American author Randall Munroe. The comic’s tagline describes it as “a webcomic of romance, sarcasm, math, and language”. Munroe states on the comic’s website that the name of the comic is not an initialism but “just a word with no phonetic pronunciation”.
The subject matter of the comic varies from statements on life and love to mathematical, programming, and scientific in-jokes. Some strips feature simple humor or pop-culture references. It has a cast of stick figures, and the comic occasionally features landscapes, graphs, charts, and intricate mathematical patterns such as fractals.
Wikipedia
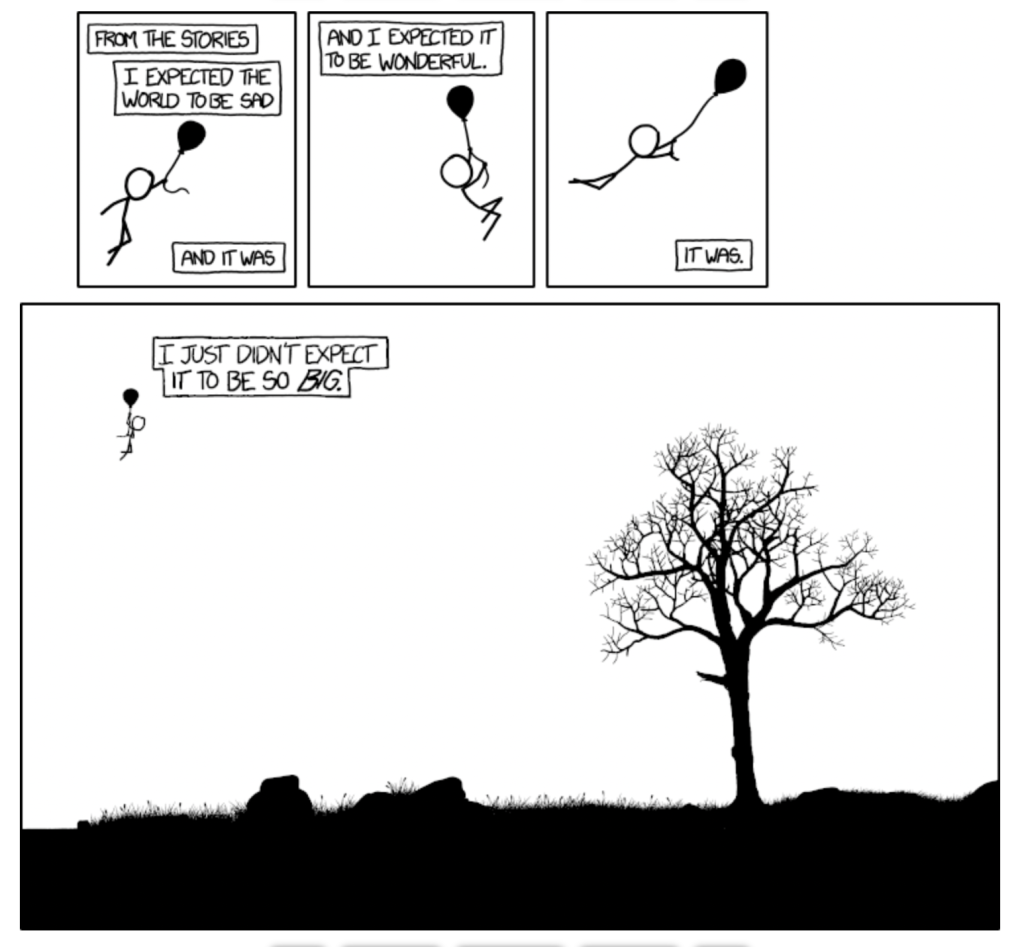
I had never seen this specific comic before (see https://xkcd.com/1110), but I was up for the challenge. I opened the link and discovered a simple 4-frame comic:
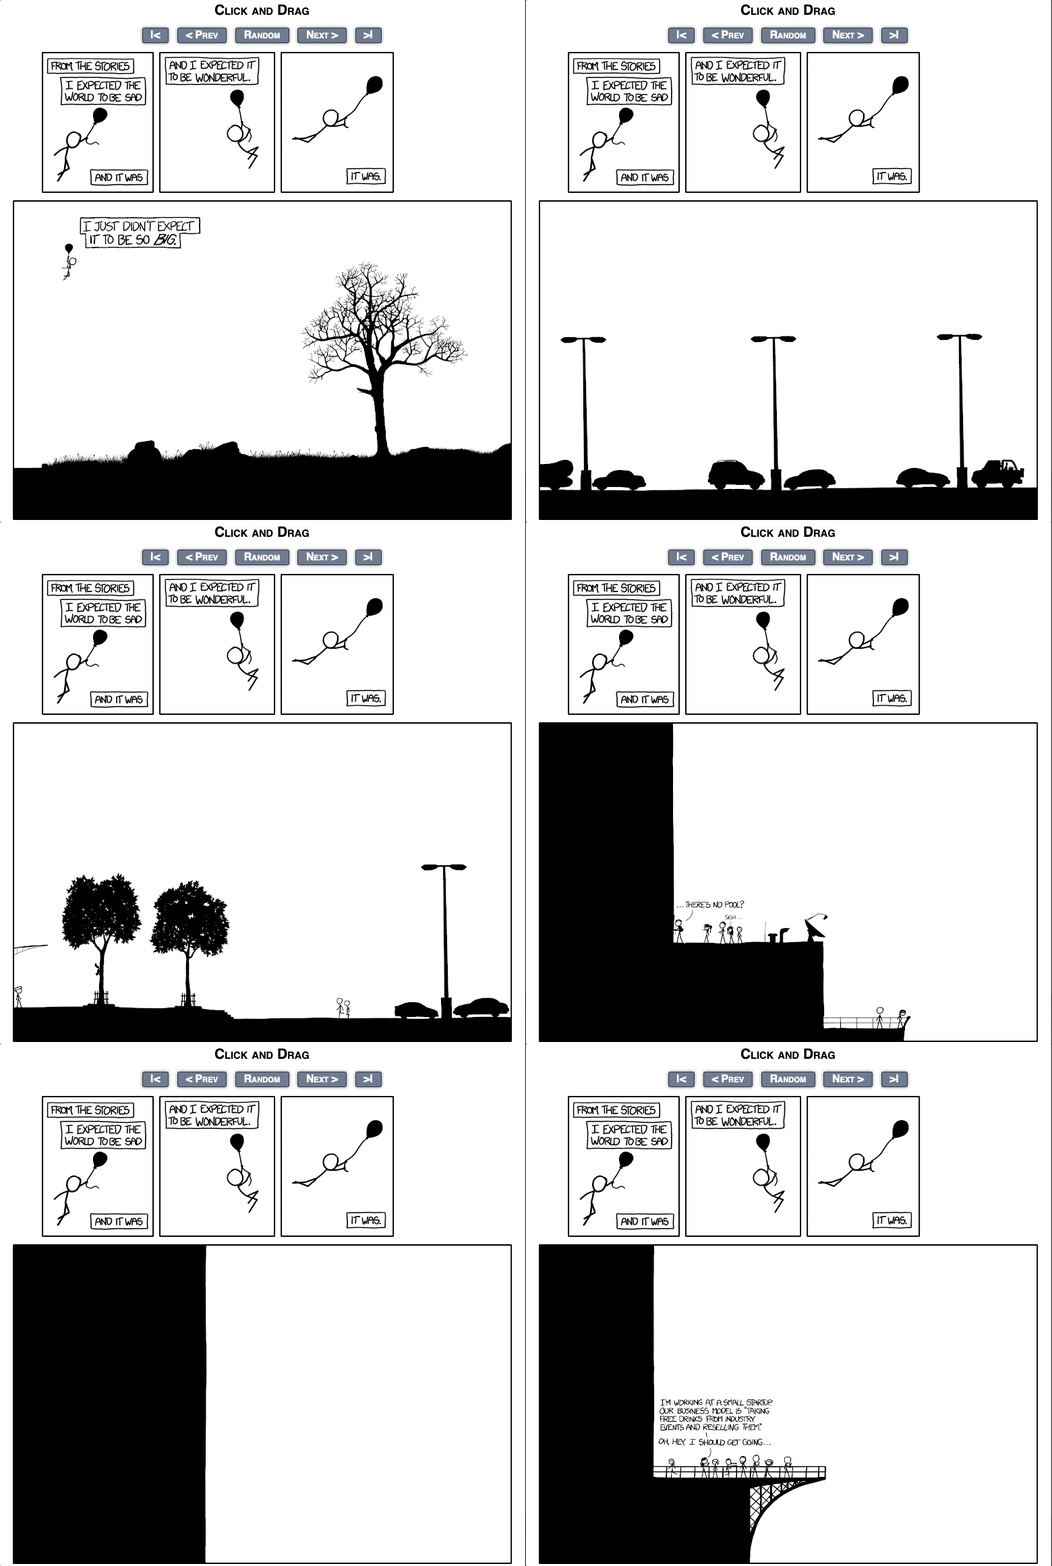
The catch is, the last frame is actually interactive and allows the reader to move inside it:
With that knowledge in hand, the task was clear: to download the entire image within the last frame of the comic!
Step 1: Trying the Easy Way
The first attempt to solve the problem was taking the easy way. I checked the RSS feed of XKCD for this specific comic. To do so, I used the link https://xkcd.com/1110/info.0.json.
The result was as follows:
{
  "month": "9",
  "num": 1110,
  "link": "",
  "year": "2012",
  "news": "",
  "safe_title": "Click and Drag",
  "transcript": "[[A character is dangling from a balloon. All text appears in rectangular bubbles.]]\nCharacter: From the stories\nCharacter: I expected the world to be sad\nCharacter: And it was\n\nCharacter: And I expected it to be wonderful.\n\nCharacter: It was.\n\n((The last panel, unusually, is infinitely large, and this transcript is not wide enough to contain it. The part you can see in a normal browser window goes as follows.))\n[[ The same character is dangling above the ground, next to an intricately drawn tree with no leaves. ]]\nCharacter: I just didn't expect it to be so \nbig\n.\n\n{{Title text: Click and drag.}}",
  "alt": "Click and drag.",
  "img": "https://imgs.xkcd.com/comics/click_and_drag.png",
  "title": "Click and Drag",
  "extra_parts": {
    "pre": "",
    "headerextra": "",
    "post": "\n<div class=\"map\"><div class=\"ground\"></div></div>\n<script type=\"text/javascript\" src=\"/s/a3c5de.js\"></script>\n<script type=\"text/javascript\" src=\"/s/d28668.js\"></script>\n",
    "imgAttr": ""
  },
  "day": "19"
}
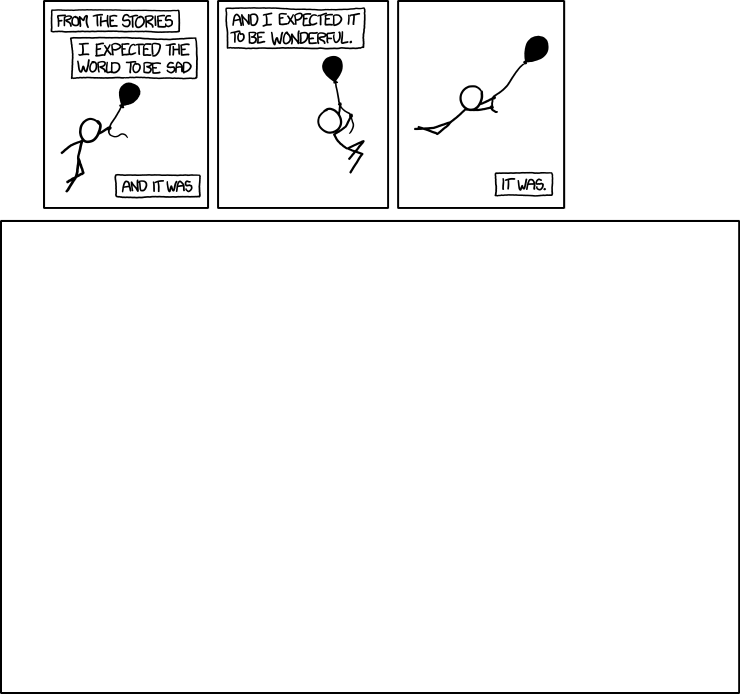
However, checking the image URL ended in very disappointing results:
Step 2: Downloading the Image
Finding the Image Size
To try and understand how to download the image, the first thing I did was to check the website’s source code, hoping it would help me find the full image.
While checking the source code, I actually found a very interesting piece of code:

Looking closely at the code exposed some interesting insights:
<div class="map" style="...">
    <div class="ground" style="..."></div>
    <img class="tile2n1w" src="http://imgs.xkcd.com/clickdrag/2n1w.png" style="...">
    <img class="tile1n1w" src="http://imgs.xkcd.com/clickdrag/1n1w.png" style="...">
    <img class="tile2n2w" src="http://imgs.xkcd.com/clickdrag/2n2w.png" style="...">
    <img class="tile1n2w" src="http://imgs.xkcd.com/clickdrag/1n2w.png" style="...">
    <img class="tile2n3w" src="http://imgs.xkcd.com/clickdrag/2n3w.png" style="...">
    <img class="tile1n3w" src="http://imgs.xkcd.com/clickdrag/1n3w.png" style="...">
    <img class="tile3n3w" src="http://imgs.xkcd.com/clickdrag/3n3w.png" style="...">
    ...
</div>
This part of the code was updated whenever I moved on the map and reached the end of a tile in the frame. After playing with it a bit, I could see a clear pattern in the file names. They contain a number followed by the letter n (for north) or s (for south), indicating whether the image is above or below the central line of the image, then a number again, and the letter w (for west) or e (for east).
So, for example, the image 1n2w.png is located in the central row of the image, two tiles to the left. That was a great discovery! Now, I can try to see the limits of the image by calling the server and checking the results.
After some experimentation, I found out that the maximum available tile to the right is 48 (http://imgs.xkcd.com/clickdrag/1n48e.png), and the maximum available tile to the left is 33 (http://imgs.xkcd.com/clickdrag/1n33w.png) — wow, that’s a big image!
As for the height of the image, this was a much greater challenge. Apparently, tiles that do not contain any image are not stored on the server and are rendered as a color in the browser. This means that some columns might have 5 tiles, while others have 20. Moreover, in theory, it could contain “islands” of tiles that are not connected to anything but themselves. See the image below as an example:

Ok, so what do we do?
When in doubt, brute force is always a good solution! Since the number of tiles is (probably) not too big, I can spend some finite reasonable amount of time trying to download a tile, if it’s not there, continue to the next one. For this task, I decided to try and download a 50x50 tile matrix.
Downloading the Tiles
At this point, I started to be lazy. I asked my best friend ChatGPT to help me out and create a code that would download the tiles for me using Kotlin. The code was pretty ugly, but if you’re curious, you can find the final results on GitHub at the end of the article.
As usual, I had to alter the code and add some protection in case a tile didn’t exist so the code would not crash. The problem was, that downloading the tiles took too much time, and I was eager to continue to the next part.
What can we do? Well, we can leverage the power of parallelism, and in our context, Kotlin’s coroutines!
Instead of trying to fetch the entire matrix in one thread, I divided it into four equal segments and started to download the tiles of each segment:
launch(Dispatchers.IO) {
    launch { fetcher.repeatInDirection(latitude = "n", longitude = "w") }
    launch { fetcher.repeatInDirection(latitude = "n", longitude = "e") }
    launch { fetcher.repeatInDirection(latitude = "s", longitude = "w") }
    launch { fetcher.repeatInDirection(latitude = "s", longitude = "e") }
}
A few minutes passed by, and I had all 160 tiles on my machine. Success! 🎉
Building the Image from the Tiles
The next part was a bit more challenging: taking the different tiles and combining them into one big image. First, it required locating each of the tiles in its position in the final image. Again, being the lazy software engineer I am, I asked ChatGPT to generate a code for me that would build the image from those files based on the file name encoding.
Running the code given by ChatGPT ended with the exact same results I opened this article with, the library I used (BufferedImage by awt) throwing the following exception:
Exception in thread "main" java.lang.IllegalArgumentException: Dimensions (width=165888 height=28672) are too large
	at java.desktop/java.awt.image.SampleModel.<init>(SampleModel.java:131)
	at java.desktop/java.awt.image.SinglePixelPackedSampleModel.<init>(SinglePixelPackedSampleModel.java:144)
	at java.desktop/java.awt.image.Raster.createPackedRaster(Raster.java:914)
	at java.desktop/java.awt.image.Raster.createPackedRaster(Raster.java:546)
	at java.desktop/java.awt.image.DirectColorModel.createCompatibleWritableRaster(DirectColorModel.java:1032)
	at java.desktop/java.awt.image.BufferedImage.<init>(BufferedImage.java:324)
	at com.yonatankarp.xkcd.clickanddrag.Combiner.combineAll(Combiner.kt:40)
	at com.yonatankarp.xkcd.clickanddrag.MainKt.main(Main.kt:61)
Looking at the codebase of the library, the issue was clear:
if (size > Integer.MAX_VALUE) {
    throw new IllegalArgumentException("Dimensions (width=" + w + " height=" + h + ") are too large");
}
Indeed, the image had too many pixels in it. The first thing I did to fix the issue was to scale down the end image. Instead of using the original tile size (2048x2048), I scaled it down by 4 to the size of 512x512, which resulted in this file:

Now, I could immediately notice a bug: tiles that are below the center of the image should have been colored black, while tiles that are above the center should have been white, resulting in a weird image. After a quick fix, I finally received this image (not before inverting the colors, of course):

Hurray! However, zooming into the image resulted in pixelated and unreadable results. The mission was not achieved just yet.
Slicing the Cake
I searched on Google for a while, but every result I saw indicated some limitation on the image size, caused by the fact that the image processing was done in memory for all libraries. I consulted Reddit and LinkedIn but without any good outcome.
To solve this problem, I added yet another fix to the program: each row in the image was generated as a separate PNG file, and my hope was to use graphic editing software like Gimp to combine them back into one huge image.
With tons of patience and over 50GB of memory used to combine all the images, I finally managed to build the image! Great success!
I finished my day happy and went to bed. 💪
The Bug
The next morning, I decided to look at the output image and finally read the entire image. It didn’t take more than 30 seconds for me to find a bug in the results. Between tiles 1n1e and 1n1w, there was a one-tile space that should not have been there:
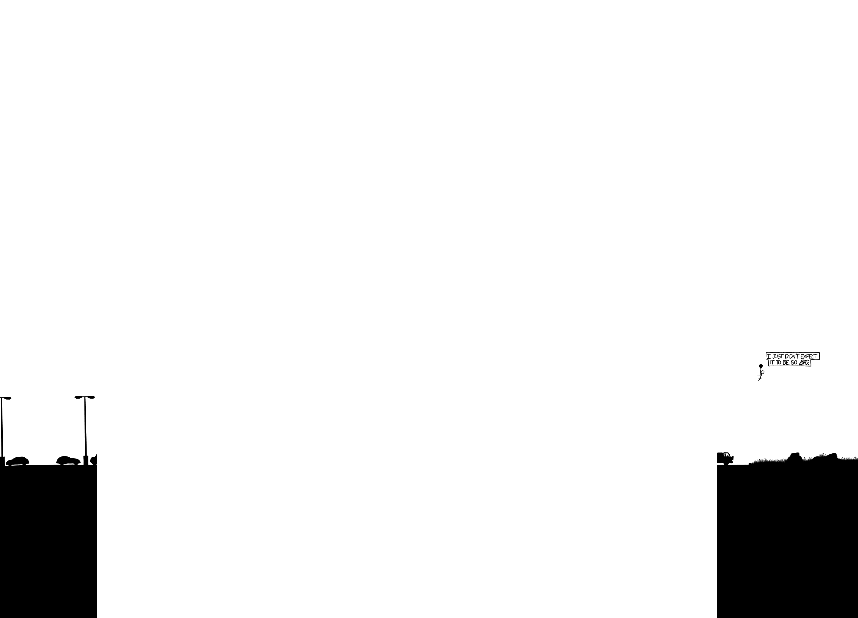
The fix was very simple, but I didn’t want to spend yet another 30 minutes combining 14 slices of images. To minimize the pain, all I had to do was calculate the maximum number of rows that I could fit within the size of MAX_INT pixels. A quick calculation showed that the number of rows I can fit is 3 (167,936 x 2048 * 3), which resulted in only 5 pieces to fit together.
I re-ran the code, combined all the pieces, and happily exported the file as a PNG with a size of ~30MB.
Step 3: Share the Results
I wanted to share the results with people, but the image was just way too big to upload. To resolve this issue, I decided to create a new repository to hold the final result image, the Gimp intermediate image, and all the tiles, including all the source code that was used during this hack project, on GitHub.
If you want to check it out, visit GitHub Repository. If you like it, give it a ⭐️!
Conclusion
Taking on the challenge of downloading and rebuilding the entire “Click and Drag” comic from XKCD was a rewarding and educational experience. Through perseverance and creative problem-solving, I navigated various technical obstacles and learned valuable lessons about large-scale image processing & the power of parallel computing.
This project underlines the importance of thinking outside the box and not shying away from seemingly scary tasks. The satisfaction of overcoming each obstacle and seeing the final, complete image was immensely gratifying. It serves as a reminder that even the most complex problems can be solved with a combination of curiosity, resourcefulness, and persistence.
I encourage you to take on your own challenges, whether they are in software programming or another field. Embrace the learning process, seek help when needed, and most importantly, enjoy the journey. After all, the best solutions often come from simply having fun and pushing the boundaries of what you think is possible.
Thank you for following along with my adventure. If you’re interested in the details or want to try it yourself, feel free to visit the GitHub repository and explore further. Happy coding!





Leave a Reply